Get Business Email
No domain name required
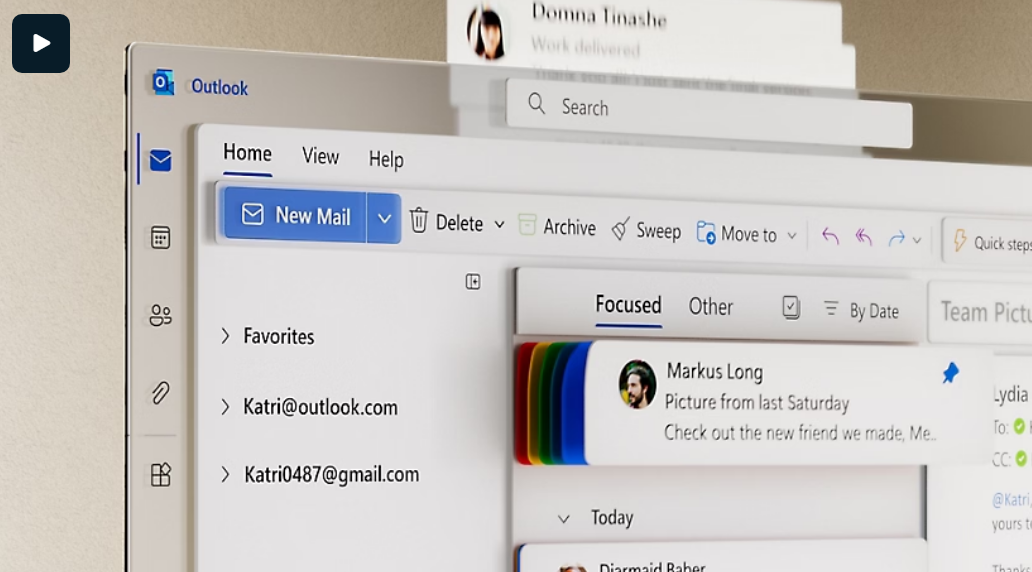
Mastering emails is crucial for personal and professional success in the digital age. There are so many email clients out there, but one that shines above the rest is Microsoft Outlook. The platform empowers over 400 million users with its robust infrastructure and features. Microsoft Outlook stands out as one of the most famous, feature-rich email clients available for Windows and Mac users.
Be it business emails, meeting planners, or even task management, Outlook business email is there to provide a robust solution for email management. However, you can enhance the functionality by downloading the Outlook application to your PC. Are you trying to learn the process for Outlook app download? In this detailed guide, we will walk you through the step-by-step process to download Outlook for Windows and Mac. Continue reading to learn more!
The Steps to Download Outlook For Windows
Outlook for Windows syncs your email, calendar entries, and records, making it one of the most important software programs that can be downloaded. To download Outlook for Windows, follow these steps:

Step 1: Accessing the Microsoft Website
- Open any of your preferred browsers, like Google Chrome, Mozilla Firefox, or Microsoft Edge.
- Type "www.microsoft.com" in the address bar and press Enter.
- Scroll down to the "Office" section.
- Press "Outlook" from there, or use the search bar to just type to go directly to the Outlook App webpage.
Step 2: System Requirements
It is vital to ensure that your system can meet the minimum requirements needed to download Outlook for Windows. This step is important as it helps in avoiding possible issues during the installation process and results in maximum performance. The general system requirements for the installation of Outlook in Windows are:
- Operating System - Windows 10, Windows 8.1, or Windows 7 with at least Service Pack 1 (SP 1).
- Processor - 1 gigahertz (GHz) or faster x86- and x64-bit processor with SSE2 instruction set;
- RAM - 2 GB for 32-bit; 4 GB for 64-bit systems
- Hard Disk - availability of at least 3 GB of free disk space
- Display - 1280 x 800 or greater resolution
- Internet - Internet functionality only works on systems connected to the Internet.
Step 3: Downloading the Installation File
Now that you’ve ensured system compliance, you can proceed to download the installation file as follows:
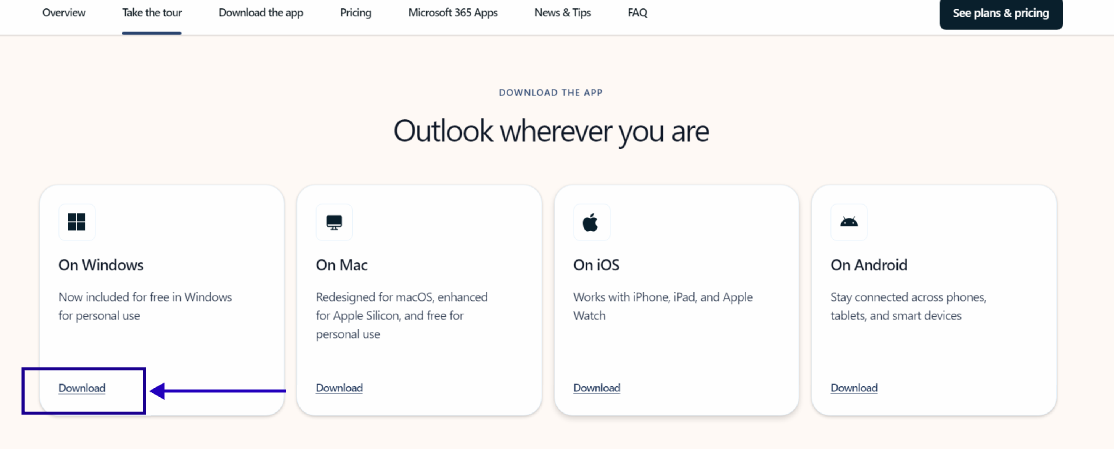
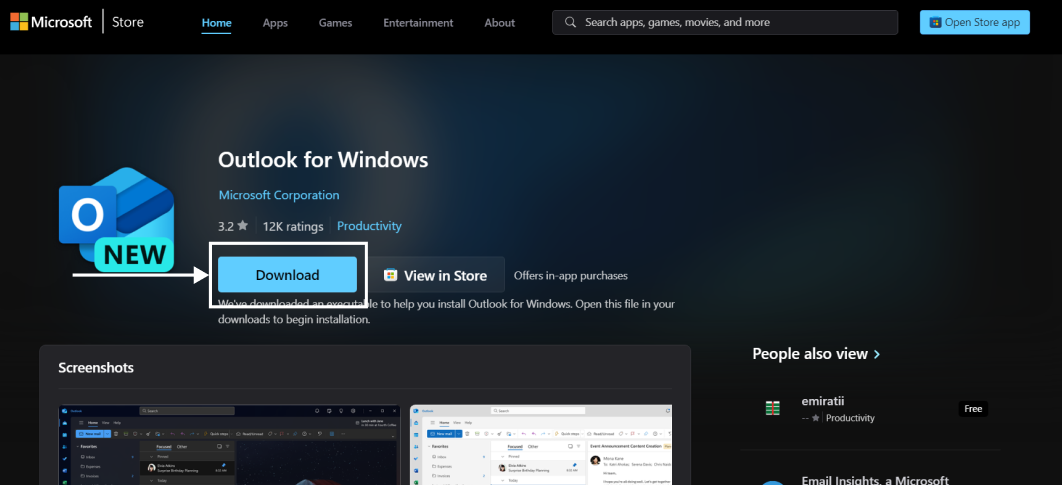
- On the Outlook app page, click on the "Download button."

- Click the "Download" button to download the setup file successfully. It is usually a "Setup.exe" file or something similar in name.

Step 4: Installation of Outlook
After downloading the setup file, you are ready to install Outlook. Detailed steps on how to do this are as follows:
- Seek the "Downloads" folder for the downloaded setup file.
- Double-click the file to run the installer.
- Now, the app will check for the update. If there are any pending updates, the system will automatically install them.
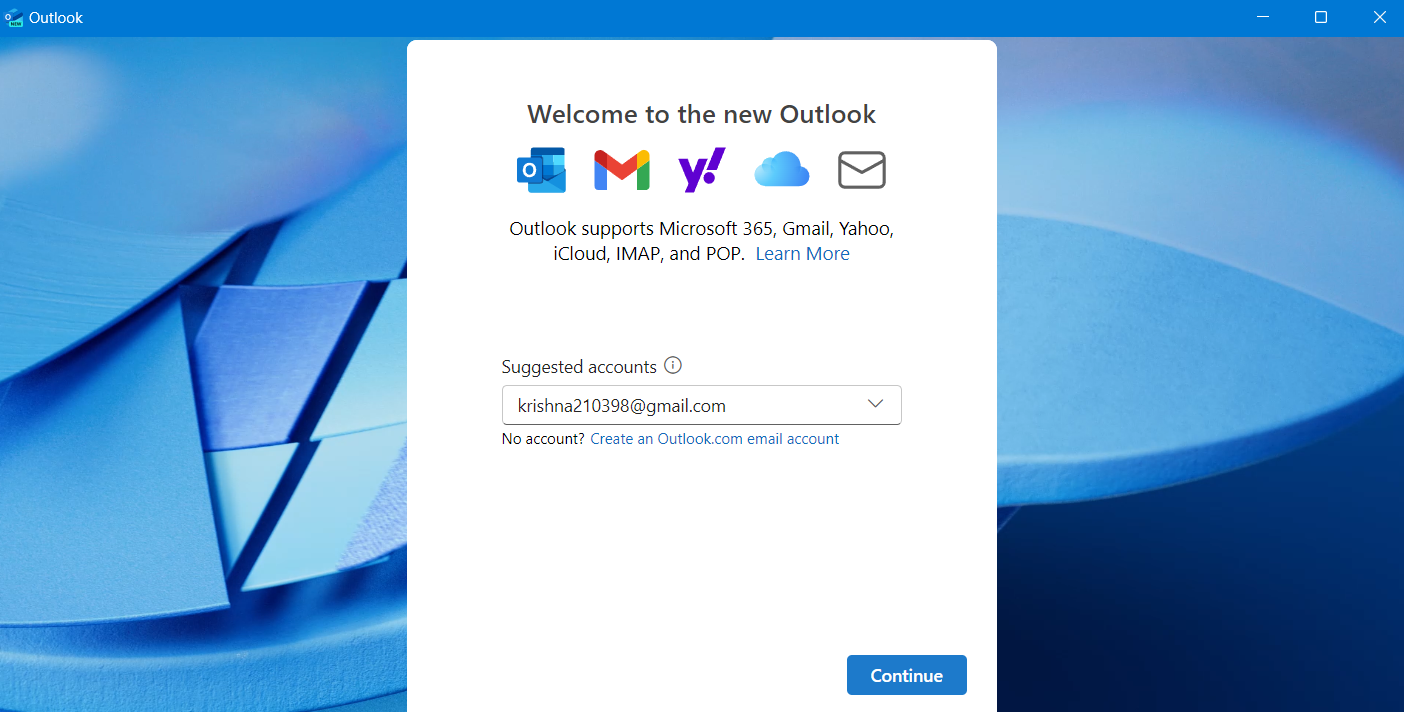
- Once the installation is complete, you can log in to it.

The Steps to Download Outlook For Mac
The steps to download Outlook for Mac are similar to those we just saw for Windows. You can finish your installation process in just 4 very simple steps. These are as follows:
Step 1: Accessing the App Store
Download Outlook from the App Store quite easily. Here is how Mac users can do it:
- Open the "App Store" application on your Mac. You can find it in the Dock or by using Spotlight Search, pressing Command + Spacebar and typing "App Store."
- In the App Store, hit the upper-right corner search bar and type "Microsoft Outlook."
- Find the official Microsoft Outlook app and click on it in search results.
Step 2: Check for Compatibility
First, make sure of Outlook's compatibility with your device. The general requirements are as follows:
- Operating System: macOS 10.14 Mojave or later
- Processor: Intel processor
- RAM: 4 GB or more
- Hard Disk: Availability of at least 10 GB of free disk space
- Display: 1280 x 800 resolution or higher
- Internet: Internet functionality requires an Internet connection
Step 3: Download and Installation
After checking the compatibility, download and install:
- From the Outlook app page in the App Store, tap Get.
- You may be prompted to sign in with your Apple ID and password to authorize the download.
- Tap Install to download the app. You may need to wait a few minutes for the download, depending on your internet speed.
- Once downloaded, the app will automatically install on your Mac.
- After installing it, you can find the Outlook App in the Applications folder or Launchpad.
Step 4: Launching Outlook
After installation, you can start using Outlook on your Mac:
- Open the "Applications" folder or, from Launchpad, find and open the Outlook app.
- If it is the first time you open Outlook, it will ask you to log in with a Microsoft account or create one.
- Follow the on-screen instructions to complete the setup and begin using Outlook.
What are the Steps to Setup a Microsoft Outlook Account?
Once your Outlook app download is complete, you can configure it to meet your needs. The set up process involves personalization of the settings. The steps are as follows:
- Open Outlook on your device.
- If you are opening Outlook for the first time, you will see the option to add an email account. Click "Add Account."
- Click Connet once you have entered the relevant details regarding your email address.
- Depending on your email provider, you might need to add more details, like your password and server settings. In most cases, Outlook will automatically detect and fill in everything you need.
- After adding your account, you will be able to edit your account settings, such as your display name, signature, and lots more.
- You can repeat the same process in case you want to add more email accounts.
Key Features of Microsoft Outlook
Outlook has several features that can enhance your productivity and email management process. Some of these features are:
- Email Organization: folders, categories, and rules let you organize your emails efficiently. You can create folders for different projects or clients and set up rules that sort the emails as they come in.
- Calendar Integration: Outlook's built-in calendar allows you to schedule meetings, set reminders, and track your list of appointments. You can also see your calendar beside your email, leading to a smooth workflow.
- Task Management: this feature enables users to create to-do lists, put deadlines on tasks, and track their progress. Additionally, you can link tasks to your calendar for seamless time management and planning.
- Search: Outlook has a robust search tool that allows you to quickly access any email, contact, or calendar event. It also allows you to filter keywords to refine your search results.
- Focused Inbox: Outlook divides your inbox into "Focused" and "Other" segments, so important emails filter to the top, ensuring a clutter-free inbox.
- Office Suite Integration - integrate other Microsoft Office applications like Word, Excel, and PowerPoint. This integration empowers a user to create and edit documents straight from their email. With the paid version, you can even create a .edu email, .net, or .com address.
Common Problems During Installation of Microsoft Outlook
The process is Outlook app download is usually straightforward. However, you might face some difficulties occasionally. Below are some common problems and what to do to fix them:
1. Click on Compatibility
Confirm that your system is compatible with Outlook. Before beginning the installation process, check the storage space and OS version of your system to reduce any risks.
2. Turn Off Antivirus
A temporary disable of your antivirus could well assist in the installation. Remember to turn it on again afterwards.
3. Running the installer as an Administrator
Running Installer as admin makes sure that you have the necessary permissions. Go to the 'Outlook Installer' and click on "Run as administrator".
4. Clean Temporary Files
A large number of temporary files can compromise your storage space and slow the performance of your system, disrupting the Outlook app download process. However, erasing these files can resolve corruption or incomplete installation problems.
Scale Your Business with Neo

Neo is a well-rounded email hosting platform that provides various solutions to enhance the communication and workflow of small businesses. The platform provides a .co.site domain, so you can create a professional email address with Neo without having a custom domain. Additionally, the platform offers a one-page website with all its hosting plans. The website offers multiple use cases, from a simple e-commerce platform to a blogging site. Moreover, with the help of Neo’s website editor, you can create robust and mobile-responsive websites easily.
Key Features of Neo
Neo offers strong features that benefit your emailing experience. This involves excess storage to email management tools, which enhances the overall functionality of your operations. Some of the other features of Neo include:
- 100% Uptime: Your email is always delivered due to Neo's perfect IP reputation and solid infrastructure.
- Advanced Security Measures - Neo has also implemented state-of-the-art anti-virus and anti-spam protection, robust data encryption, and two-factor authentication to ensure that your email is secure and protected.
- Calendar Syncing: With Neo's built-in calendar, appointment and event-sharing is as seamless as possible.
- Email Marketing Tools: You can plan email campaigns with Neo and send personalized emails to seek out effective customer communication.
- Appointment Booking: You can easily book appointments with Neo's appointment booking facility.
- Signature Designer: Create a professional email signature that will feel like brand promotion each time you send an email.
- Trial: The platform also offers a free email address for a limited trial so that you can make an informed decision about whether the platform supports your complex needs.
Wrapping Up
Microsoft Outlook is one of the commonly used email services which, through a variety of features, make it easier for users to check emails on their PCs. The outlook interface is consistent with the modern look that also syncs across devices, and easily integrates with Microsoft Office. It comes with advanced functions, allowing Outlook to run multiple email accounts and seamlessly organize your email workflow.
If you are looking for a more feature-rich option, Neo is a powerful alternative to Outlook. This email hosting service offers amazing add-ons, allows you to integrate your custom domain for enhanced professionalism, and uses advanced features like email marketing and website building. It also allows you to enhance your operations with a simple single-page website and team collaboration tools. So, what are you waiting for? Subscribe to any of the email plans by Neo and enjoy a free trial!
Frequently Asked Questions (FAQs)
Q1. How does Outlook contribute to the email handling process?
Outlook offers several capabilities to enhance email management, such as Office suite integration, security features, a voice-enabled AI-assistant copilot that automates tasks on the go, and a calendar integrated with emails.
Q2. Can I use Outlook offline?
Yes, Outlook does have an offline mode that enables you to view and write emails without an internet connection.
Q3. How do you backup emails in Outlook?
Outlook allows you to back up your emails and other relevant data effectively. You need to follow the process given below to backup the emails in Outlook:
- Launch Outlook, and click on "File" > Open & Export > Import/Export.
- You need to click on “Export To A File” and next.
- Choose "Outlook Data File (. pst)" and click "Next."
- If you have multiple email accounts or want to backup, select your folders instead of all emails.
- Select the appropriate email (Do NOT tick [Select ALL Emails]), then click Next.
- Click Finish and choose the location to save the PST file.

Get Business Email
No domain name required


.svg%201.svg)
.svg)
.svg)
.svg%201.svg)


